Cut It Out! Making Holiday Cookies A Real Treat
Let’s just face it, the holidays stress us out. Thanksgiving and New Years are just too close and the time in between to get everything done just seems like a recipe for disaster. Sorry to be glum, but when the end of the year rolls around, I feel like there are not enough hours in the day. So this year I decided to implement my New Year’s Resolution early. Cut out the stress and try to find ways to make the holidays enjoyable.
Holidays are really about memories we create with our family. Not the hustle, bustle and whether or not you were able to score a Hatchimal before they sold out. One way my family takes a breather from the craziness is to make holiday cookies together. The kids LOVE making sugar cookie cut outs. We have old cookie cutters, passed down from my mom that we used when I was a child. I make a buffet of bowls filled with sprinkles, frosting, little candies and really anything that will stick to cookies and let them have at it.
Yes, it requires a few mental counts from 1 to 10, but in the end, we have delicious and very colorful cookies to eat and share with friends. The kitchen looks like Santa’s workshop exploded, but I put on the holiday music and we clean up before bed.
Making homemade dough is very easy to do. You can either have your kids help with that part of the process or make it before they get home from school and pop it in the fridge. You could even bake off the cookies beforehand and just let them decorate. You may feel this way if they are very small and think that is all they (or you) can handle -- the choice is yours!
About 20 minutes before you are ready, take it out, let it soften, roll, cut and have fun. Lay out all of your fun toppings and start baking. Twenty years from now, its not going to be about that Hatchimal or any other ridiculous thing they had to have. It’s going to be about those cookies, the frosting all over the counter, sprinkles on the floor, and how, for once, mom didn’t care.
Classic Cut Outs
(From Cook’s Illustrated) –these are my favorite!
Makes
Serves
Prep time : Total time:
2 ½ cups AP Flour
¼ cup cornstarch
2 teaspoons baking powder
pinch of table salt
2 egg yolks
3 tablespoons light cream
1 ½ teaspoons vanilla extract
1 cup granulated sugar
12 tablespoons unsalted butter, softened
4 tablespoons vegetable shortening
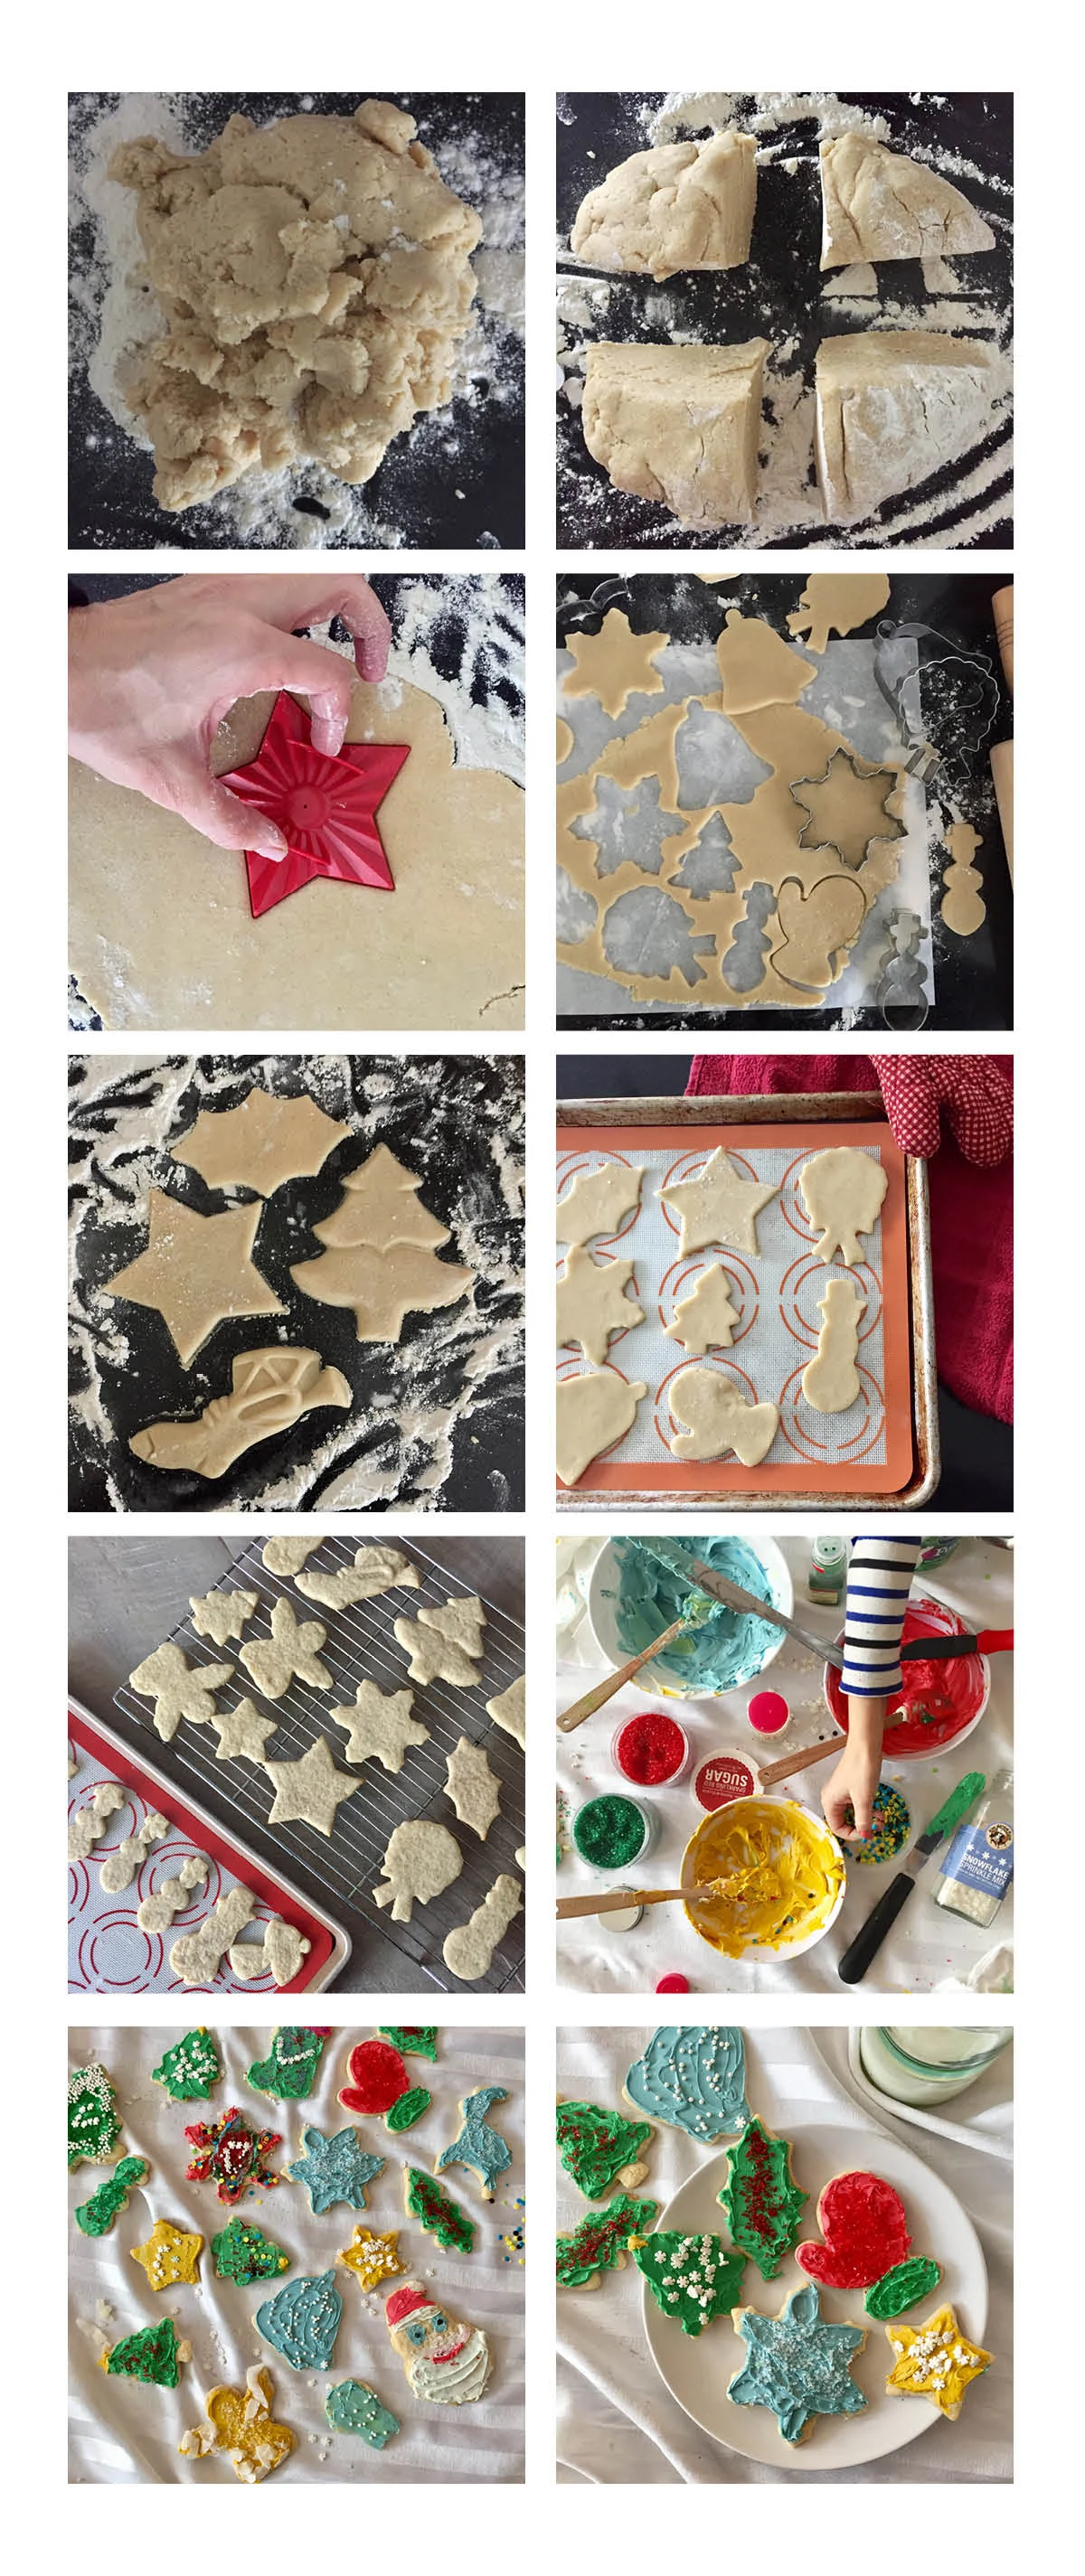
- Heat oven to 350 degrees. Line 2 baking sheets with parchment or silicone paper.
- Mix flour, cornstarch, baking powder, and salt in a medium bowl. Mix yolks, cream and vanilla together in a measuring cup.
- Cream sugar with butter and shortening until lightened and pasty. Beat yolk mixture into creamed butter until just combined.
- Add dry ingredients and beat until mixture begins to clump together.
- Turn dough out onto a lightly floured board and knead gently to shape into a soft dough.
- Work with ¼ dough at a time. Roll to 1/8 inch thick on a well floured surface. Cut out your shapes and place them one inch apart on a baking sheet.
- Bake for 10 minutes until golden.
- Cool to room temperature before decorating.